Adding and removing custom kernels to EMBL's JupyterHub
Jupyter kernels
Jupyter is a server but also an ecosystem of tools for data exploration.
JupyterLab is a web interface to notebooks which can be used to document, visualize and perform computations.
Computations in Jupyter are performed by a kernel, a separate component that understands how to perform calculations on request and return the result back to Jupyter.
As such, a single JupyterLab installation can have multiple kernels with different configurations for different needs. One can have a kernel for Python 3.8, another for 3.9 or 3.10, or even kernels from different languages such as R, Julia, or many others.
Adding a kernel
Creating a new environment
First start by creating a new environment with the software you need.
conda create --prefix $HOME/conda-py310 python==3.10 jupyter seaborn
source activate $HOME/conda-py310
In this case, seaborn. jupyter should also be installed so we can register the kernel with jupyterlab.
Installing/Removing the kernel
ipython kernel install --name "py-3.10-local" --user
We can then confirm that the kernel was installed by issuing the following command:
jupyter kernelspec list
that will list all registered kernels:
Available kernels:
  py-3.10-local    /home/ralves/.local/share/jupyter/kernels/py-3.10-local
  python3          /home/ralves/conda-py310/share/jupyter/kernels/python3
If at any point we want to remove the kernel, we can use the listed name to remove it.
For instance if we wanted to remove py-3.10-local that we added above we would:
jupyter kernelspec remove py-3.10-local
To confirm you can execute:
jupyter kernelspec list
that should list all but the removed kernel.
Available kernels:
  python3          /home/ralves/conda-py310/share/jupyter/kernels/python3
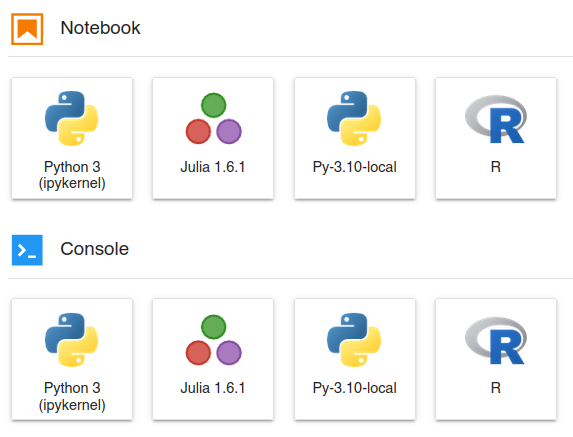
If you then navigate to the dashboard of jupyterlab, what before looked like:
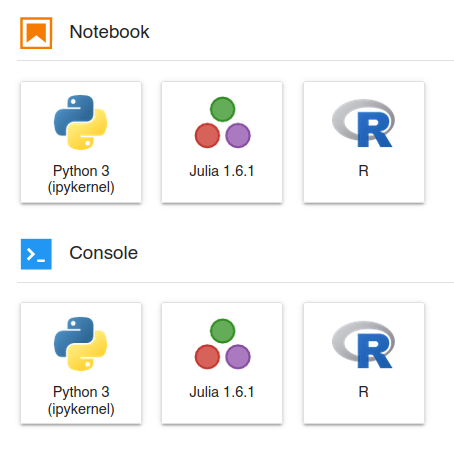
will then become after a few minutes. If it still doesn’t appear, refresh your browser.
Other languages
As the jupyter ecosystem supports many languages, you can also install them on the EMBL jupyterhub system.
If you wanted to install typescript support, you need to install the itypescript kernel written for node.js
conda create --prefix /home/ralves/conda-tjs "typescript=3.6"
npm install -g itypescript
and then register it with jupyter
its --install=local --user
And like above, the new kernel should appear after a few minutes.
Who should I contact in case of issues?
If you encounter any issues let us know in the EMBL Bio-IT chat and channel.
Renato Alves,
EMBL’s JupyterDev team
Photo by Mockup Graphics on Unsplash